UIS/per-pixel/skin studo, and tile/steetch question
from  WinCustomize Forums
For skins in W11 which skin type should I use? UIS2 or per-pixel?
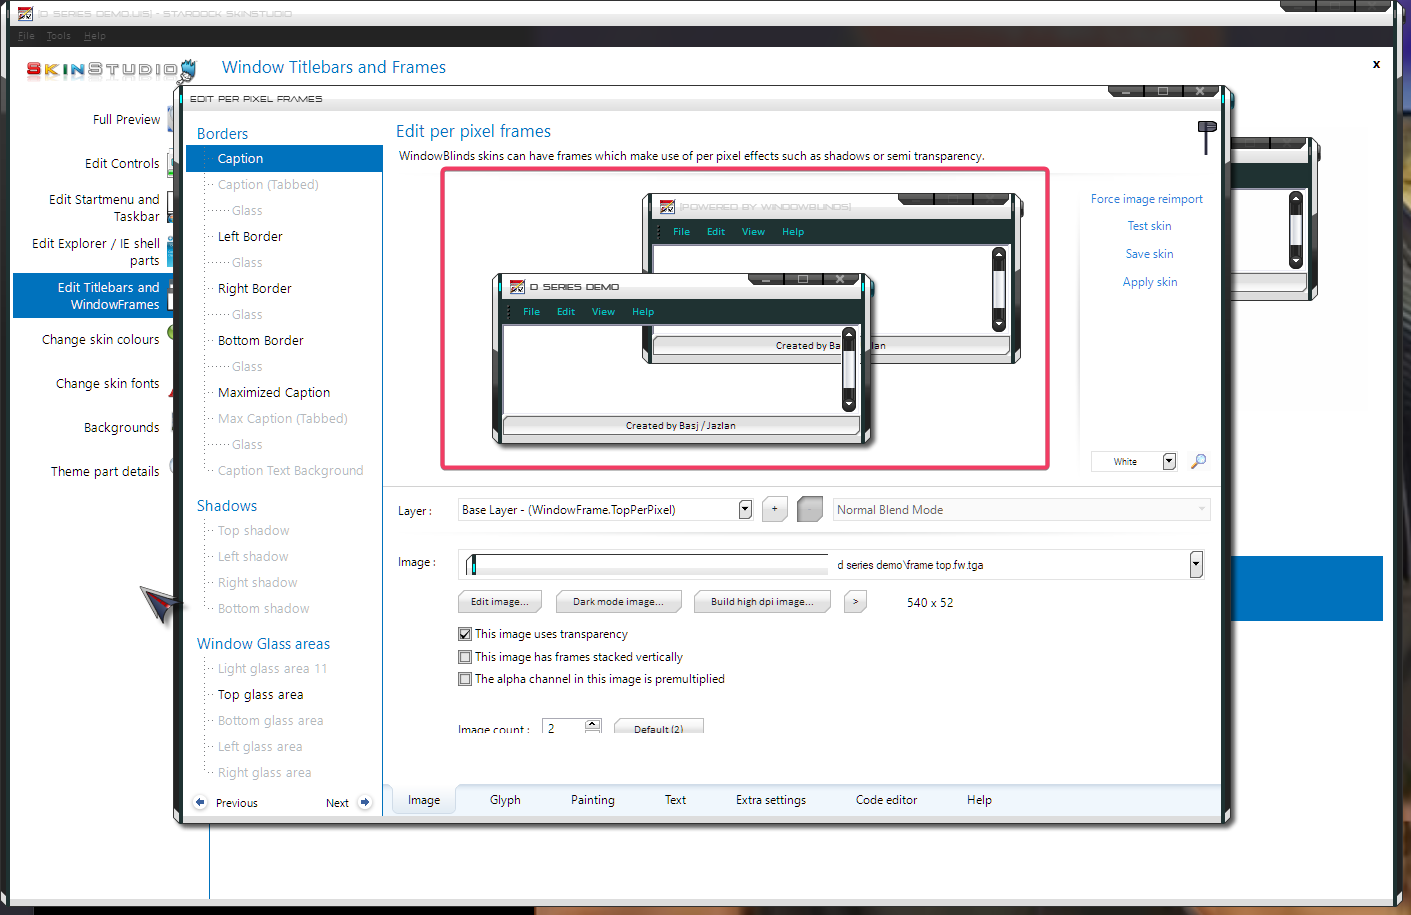
Also in per-pixel there is an option for tiled top left bottom margins, and stretch center horizontal region, but if I use it, it still stretches the top and bottom margin content.
Also the skin studio preview always shows the skin that was loaded when I chose to create a new skin, and never updates the with graphics I add. I have to reapply the skin wip to see how it looks.
Thanks